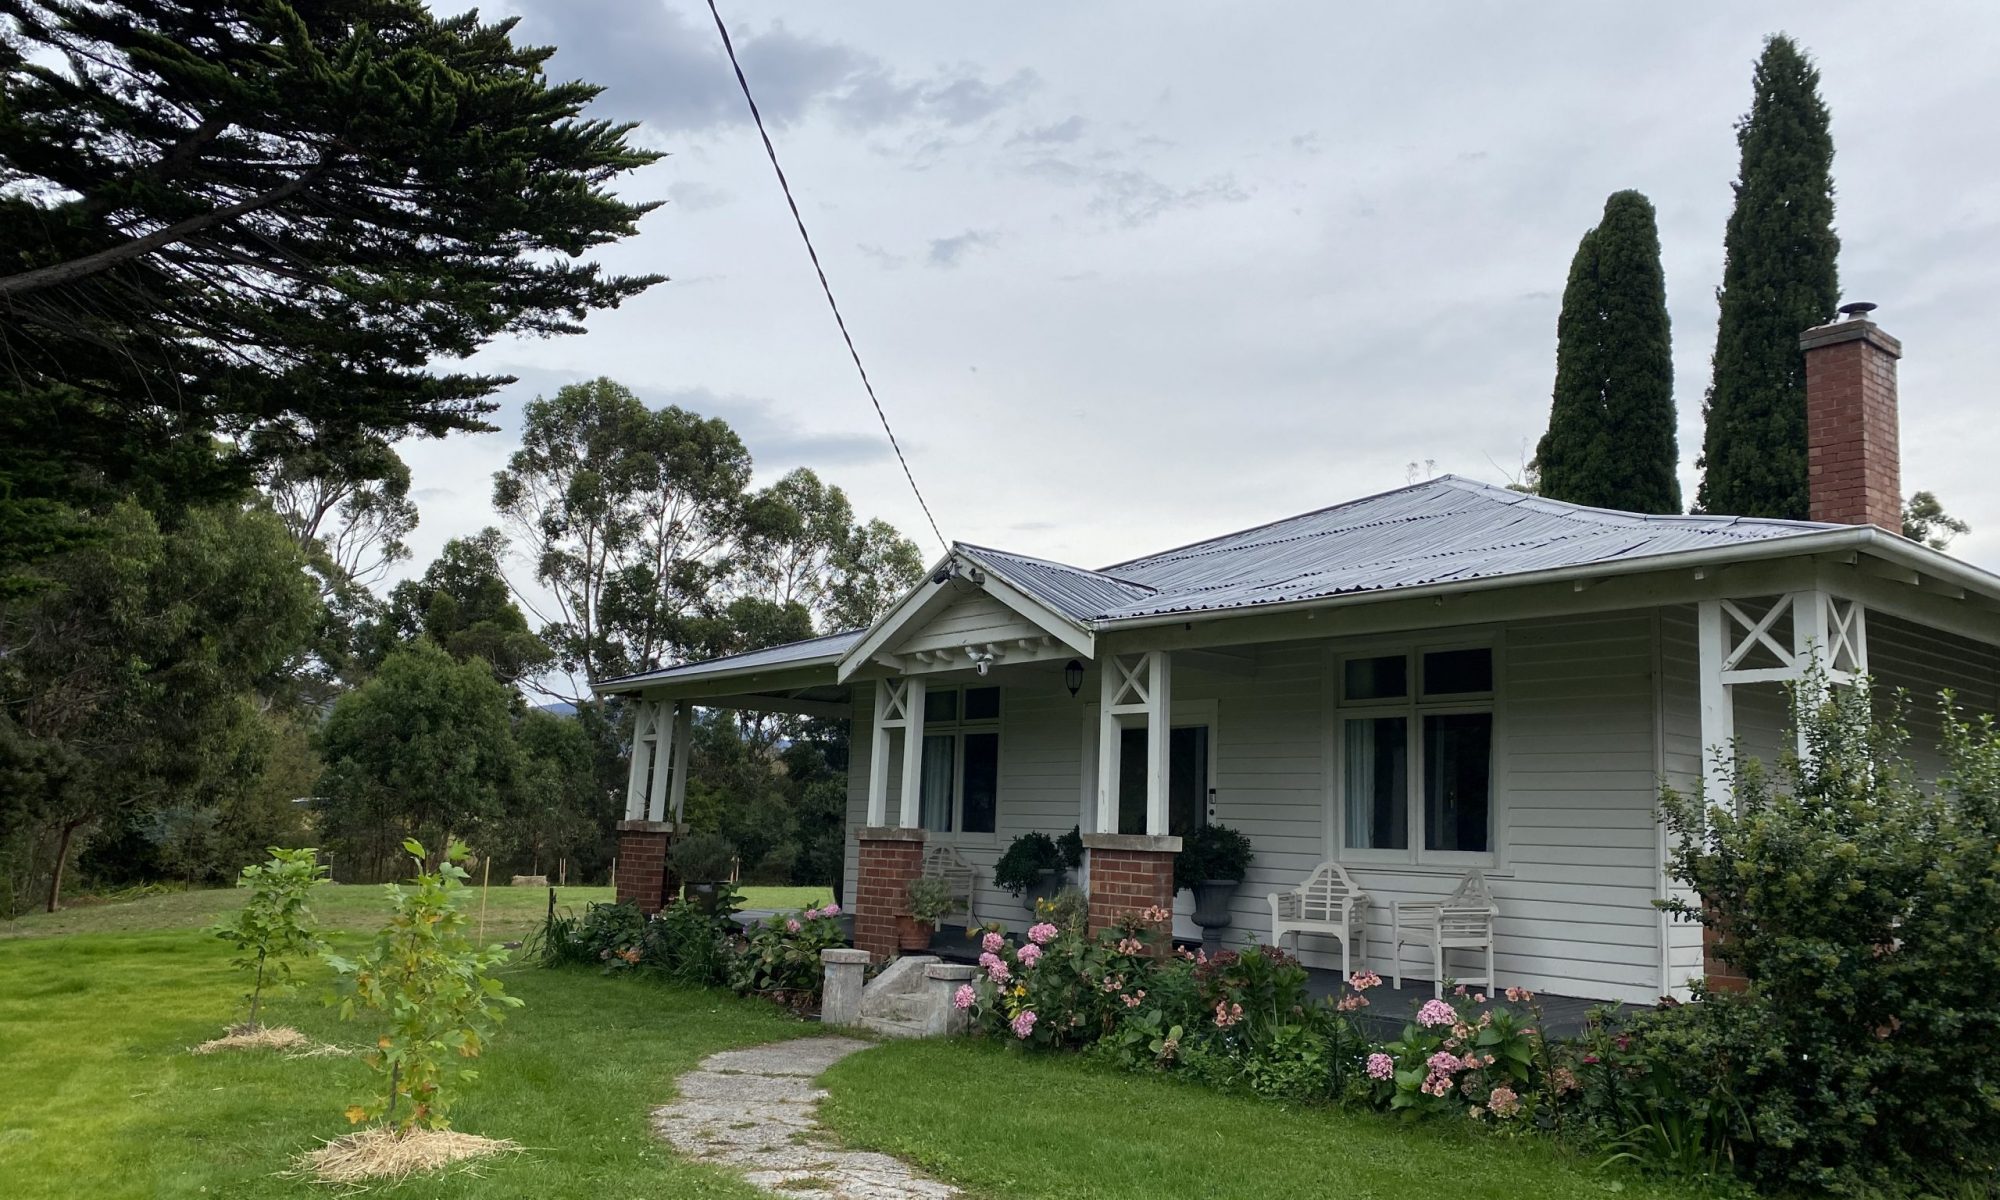
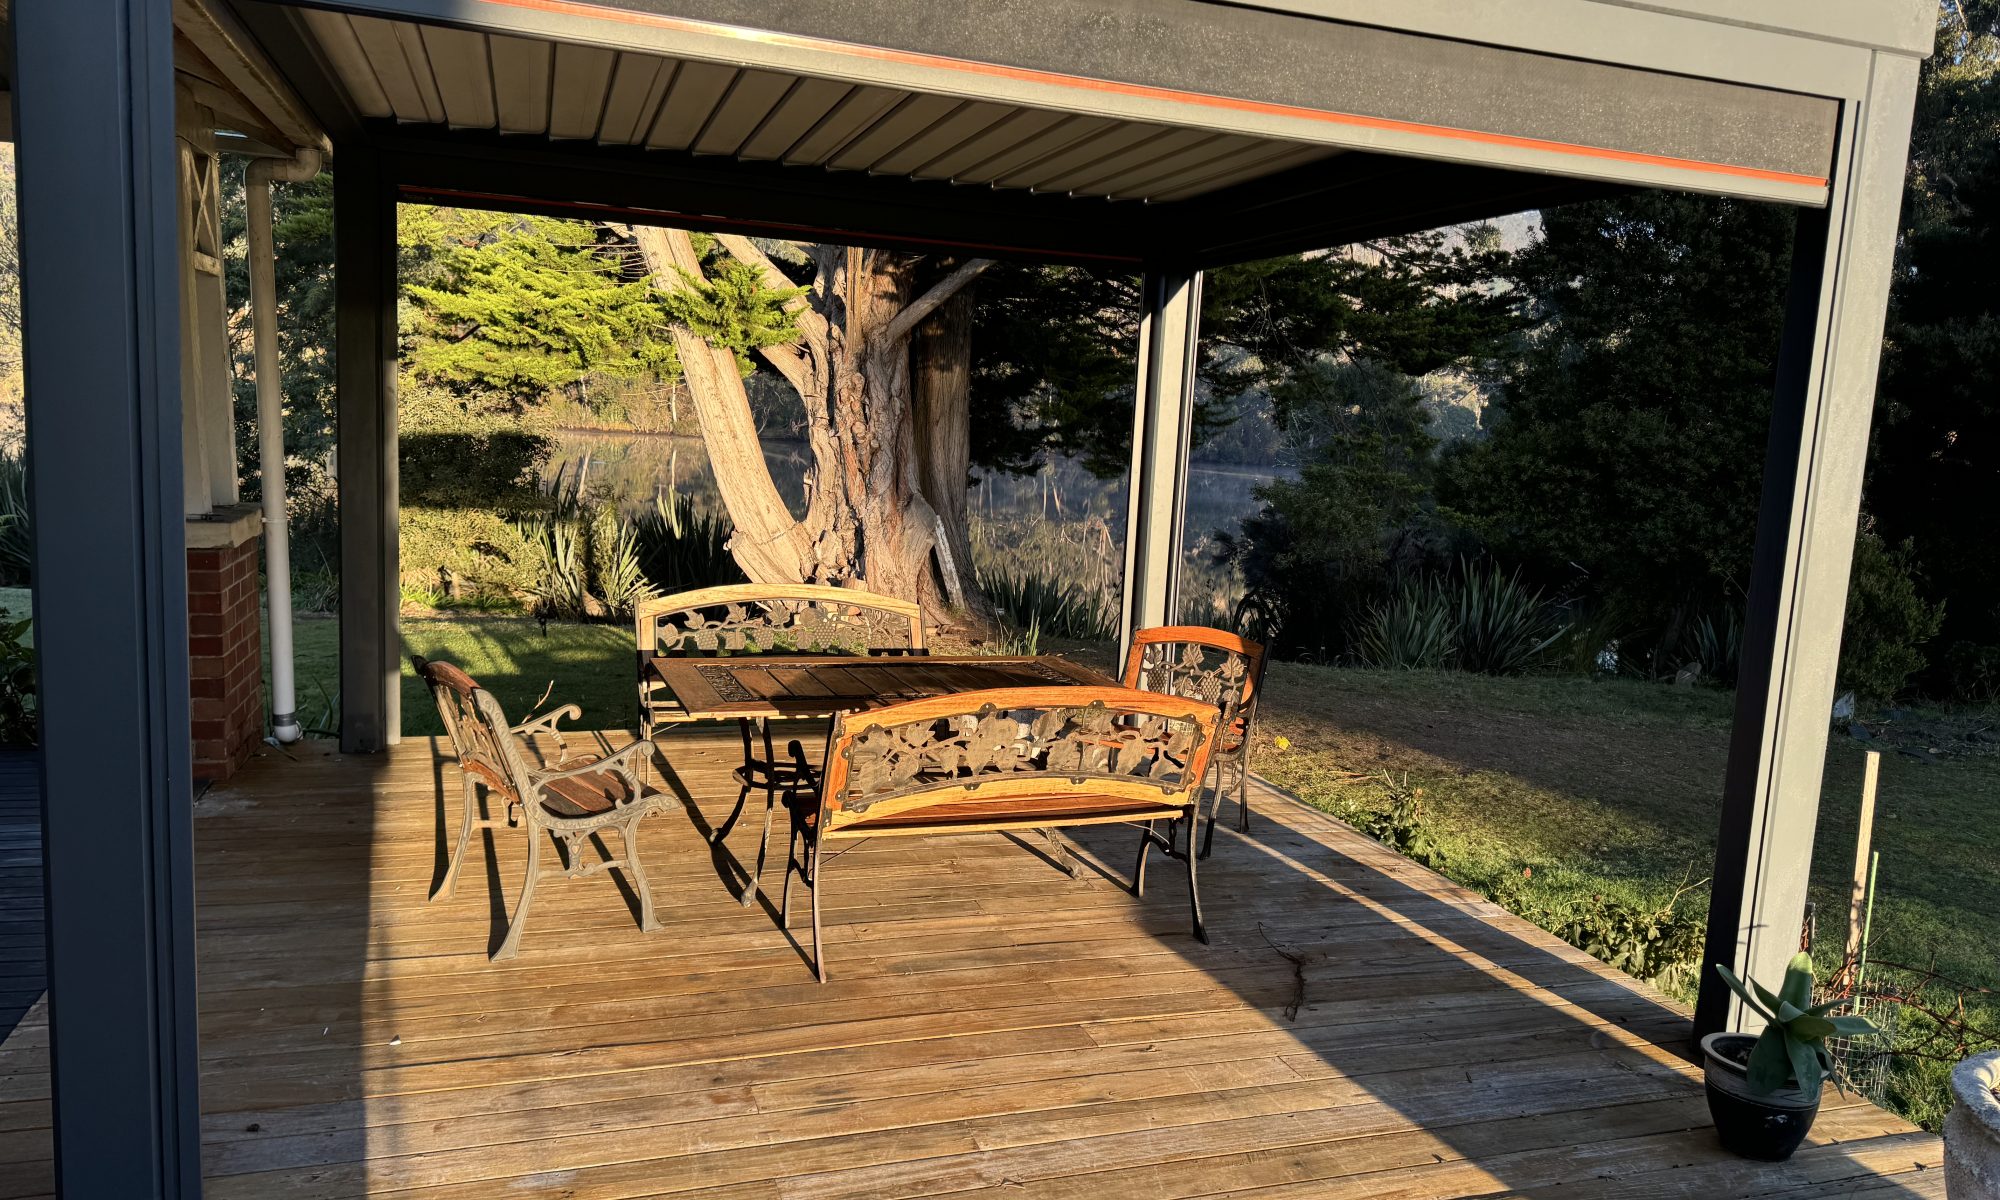
Our new louvred roof is now installed on our deck in Huonville. The roof has adjustable slats (louvers) that can open or close to control light, ventilation, and weather protection. This type of roof system is commonly used in outdoor spaces like patios, decks, and pergolas, where you want to have control over the amount of sunlight or airflow, or to shield from rain when needed. Ours is the series 220 from Taylor and Stirling
Here are the basic steps involved in a louvered roof project:
1. Planning & Design
- Assess your space: Determine where the louvered roof will go and measure the area carefully.
- Design the layout: Decide on the style, size, and material of the louvers, as well as the type of motorized or manual adjustment system you want.
- Check local building codes: Ensure your design complies with local zoning laws or building regulations.
- Choose materials: Louvers can be made from a variety of materials like aluminum, wood, or steel. Aluminum is a popular choice due to its durability, light weight, and resistance to weather.
2. Choosing the Type of Louvered Roof
- Manual vs. Automated: Louvered roofs can be adjusted manually or automated with a motorized system. Automated systems can be controlled with a remote, app, or weather sensors.
- Fixed or Retractable: Some systems allow the louvers to retract fully, while others remain fixed and adjustable.
3. Building the Structure
- Install the frame: The louvered system will need a sturdy frame to support the louvers. This may involve installing beams, posts, or rafters.
- Install the louvers: Depending on the design, the louvers will either be slotted into place manually or installed using a motorized track system.
- Install motors or manual systems: If you have a motorized system, this will involve connecting the louvers to an electric motor that controls their movement. For manual systems, a crank or lever might be used.
4. Electrical Work (for motorized systems)
- Install wiring: Motorized systems will require proper wiring to connect the motors to a power source. Make sure to hire a licensed electrician for this step.
- Control system: This could involve setting up a remote control, wall switch, or even smart-home integration.
5. Finishing Touches
- Seal and weatherproof: To ensure the roof is water-resistant and durable, you might need to seal the joints or treat the materials to prevent rust or decay.
- Test the system: Whether manual or automated, test the roof to ensure it opens and closes smoothly and effectively controls the amount of sunlight or weather protection.
6. Maintenance
- Regular cleaning and inspection of the louvers and mechanical parts (if automated) will help extend the lifespan of the system.
Benefits of a Louvered Roof:
- Versatility: You can control the amount of sunlight or shade, as well as adjust ventilation and weather protection.
- Aesthetic appeal: A well-designed louvered roof can enhance the beauty and functionality of outdoor spaces.
- Increased property value: Adding a louvered roof is often seen as an upgrade to outdoor living spaces and can increase the value of your home.
If you’re looking for specific tips on materials, designs, or anything else related to your louvered roof project, feel free to ask!


